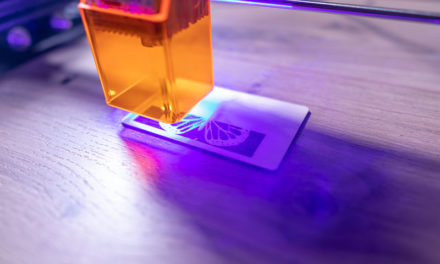
Laser engraving has never been so easy, it will work for you with this machine.
The DeWallie LA100 is designed for those who don't want to learn another profession.

contents show
Check out our video tutorial too!
Introductory
Have you ever considered buying an engraving machine? If so, it is suspicious that a large and complex machine has now appeared before your spiritual eyes.
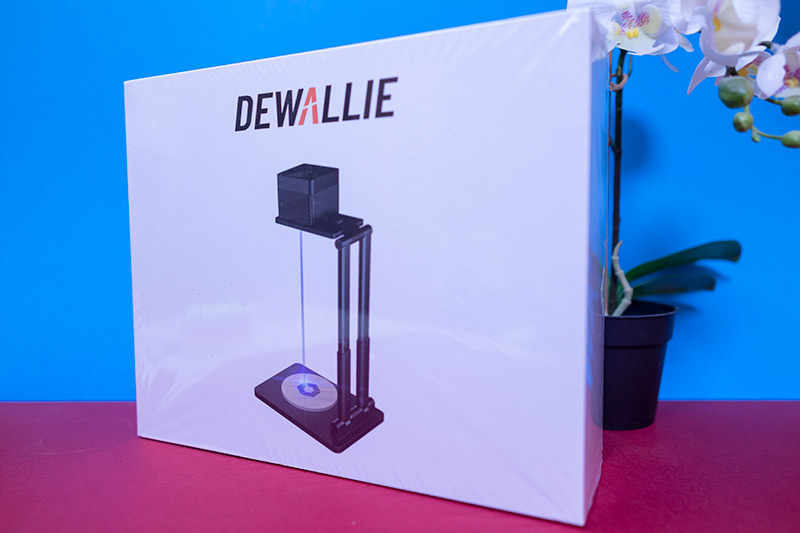
I also have one at home, but I use it very rarely. I just couldn't find a permanent place for him, so it's hard to pick it up, set it up, use it. It’s always an extra hour program if I want to cut out something or engrave something on it.
So I’d rather leave it all to hell, or I’ll try to collect such tasks and do a little more stuff.
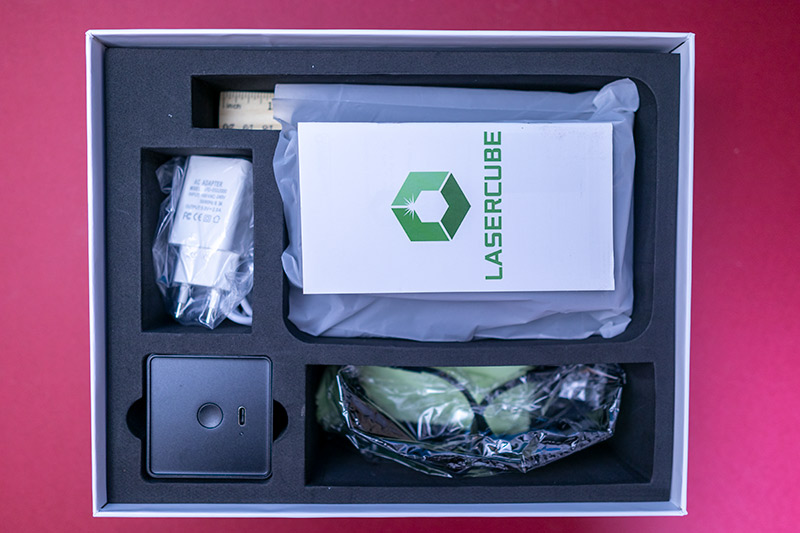
Because of the maceration of the thing, my eyes twinkled when the manufacturer of the subject of today’s article asked if I wanted to try a new, cheap engraver. I looked at the photos of him and I said yes right away!
Assembly
Now I'm not writing a separate packaging, accessories chapter, let's jump into the description, we'll get to know the parts in the meantime!
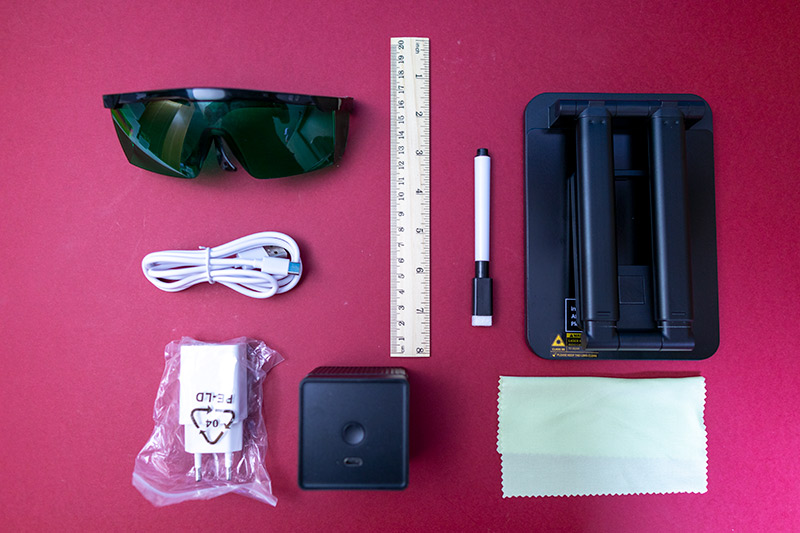
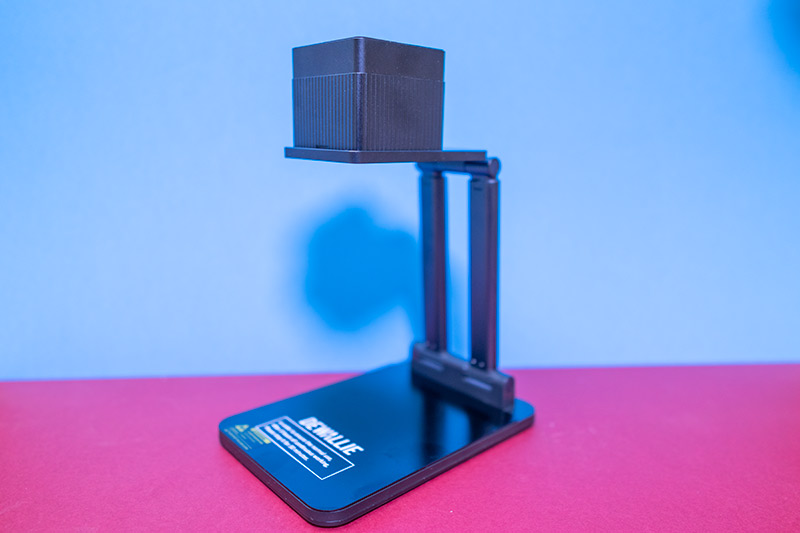
Let’s start there, the DeWallie LA100 is by no means a typical engraver. Not to mention portable. The others, of course, but you don’t need a truck to do this, almost to fit in your pocket.
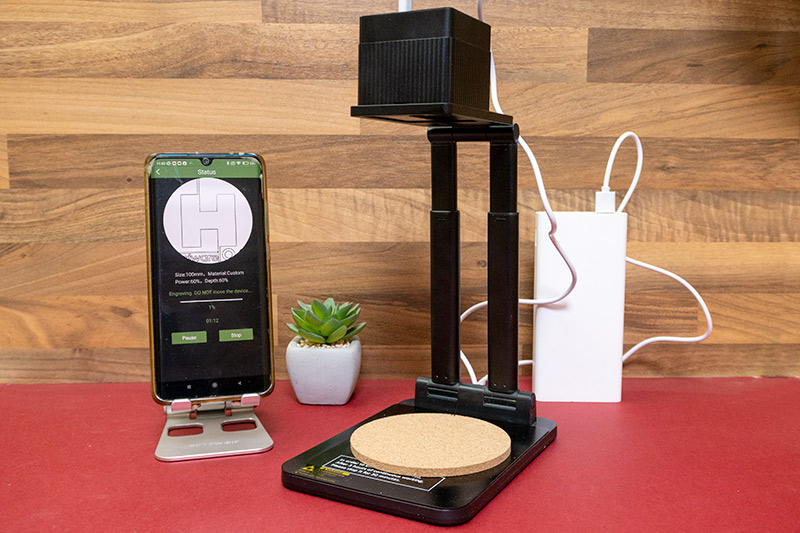
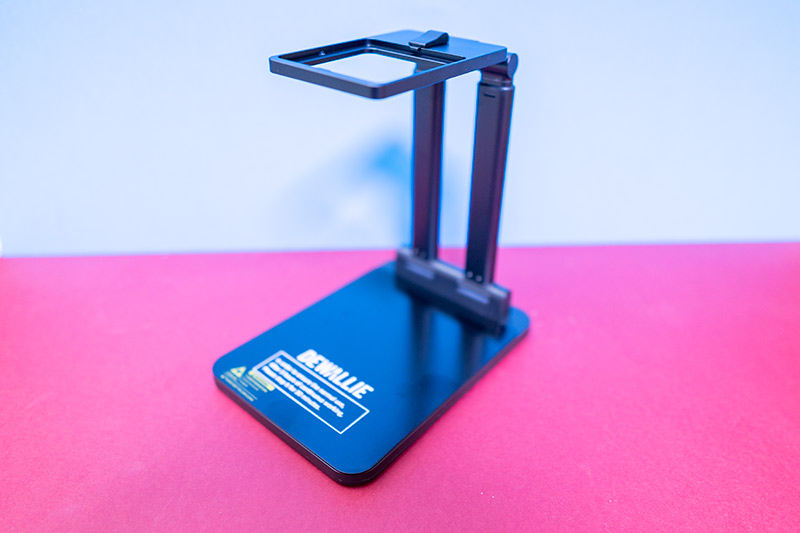
The structure consists of two larger pieces. The sole + foot combo and the head in which the laser is generated.
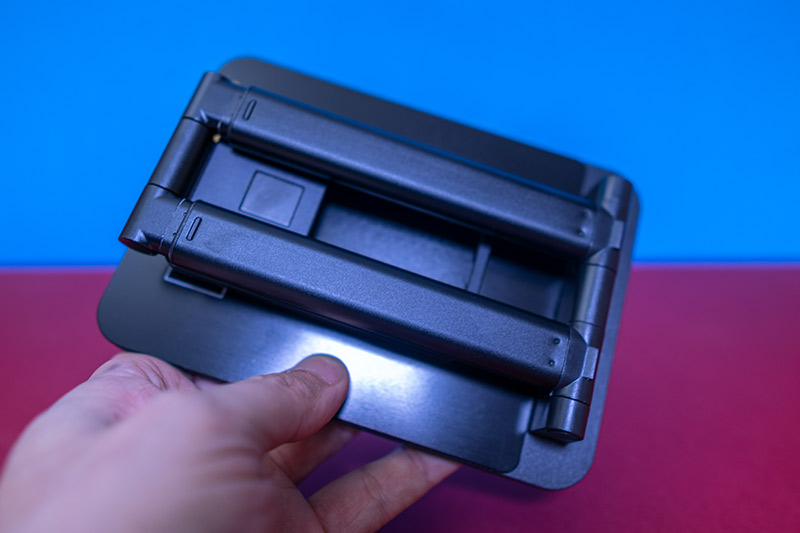
The foot is an openable structure with a base at the bottom and a receiving frame at the top to snap the head into. The legs, more precisely the legs, because two are telescopic, can be adjusted by pulling out and pushing in the distance between the head and the work material.
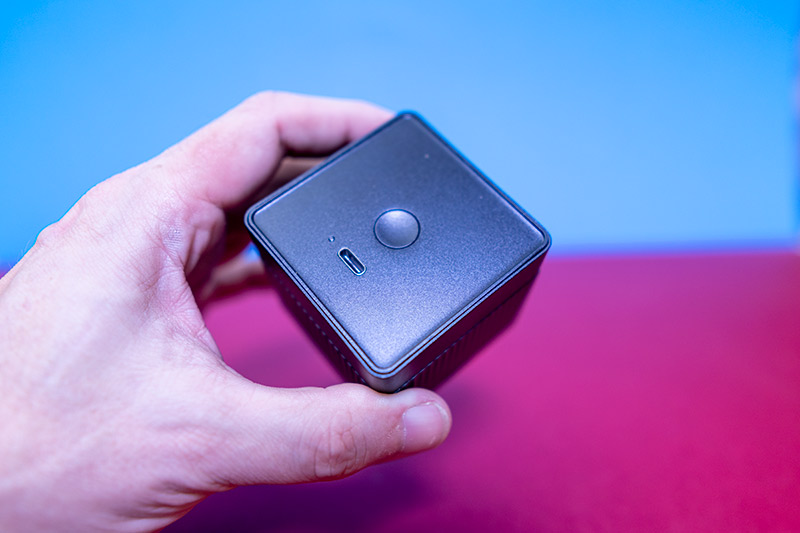
The head isn’t a complicated thing either, it’s essentially a plain 5 x 5,5 x 5,5 centimeter black cube. On the top we find a USB Type-C connector and a button, at the bottom there is a small window where the laser comes out, there is no other.
The machine is also easy to assemble, we snap the cube into the receiving frame at the top of the foot and we are done.
Use
You didn't have to sacrifice too many words to assemble, let's start engraving!
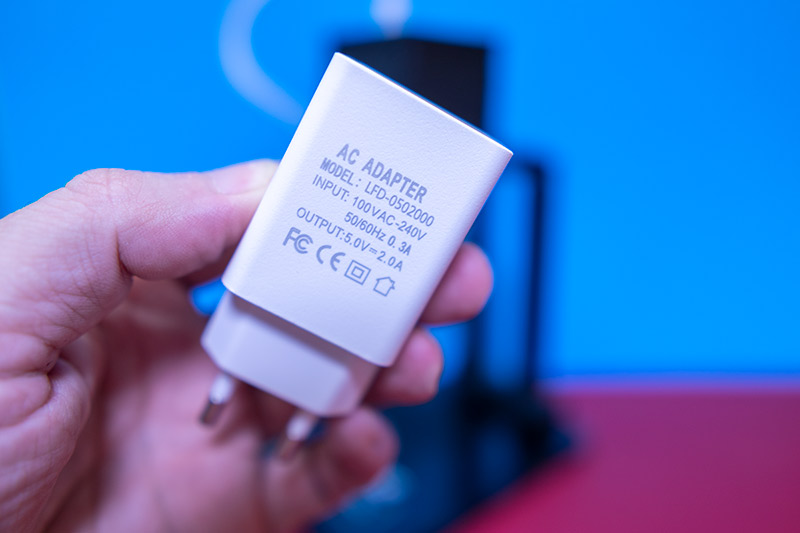
The engraver itself does not require too many settings. All we have to do is give it power via USB (we also get a USB charging head and a cable for this), and then use the ruler in the package to set the distance between the surface to be engraved and the bottom of the head to be 20 inches. This completes the engraving of the engraving machine.
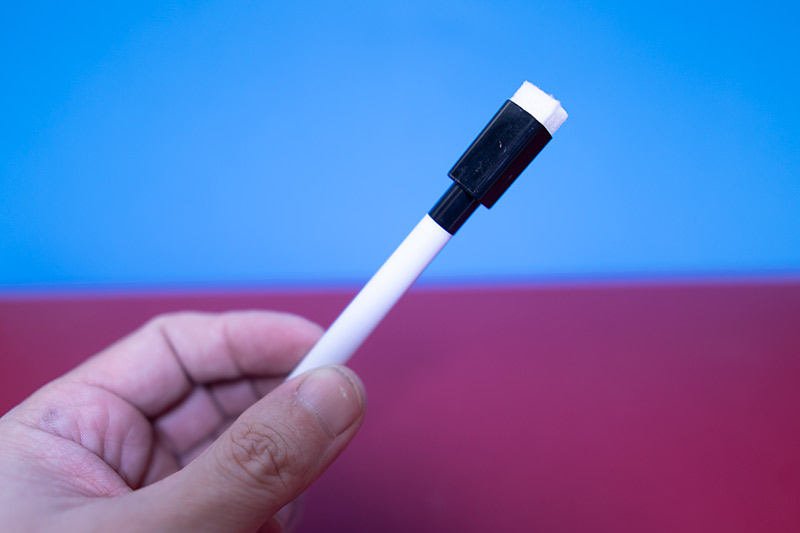
Of course, we won't be able to engrave this way yet, we'll need our phone for that too!
What about our phone ??? Well, I was also very surprised at first, because so far I've only come across machines that required a PC or Mac or something similar. But all you need is a phone!
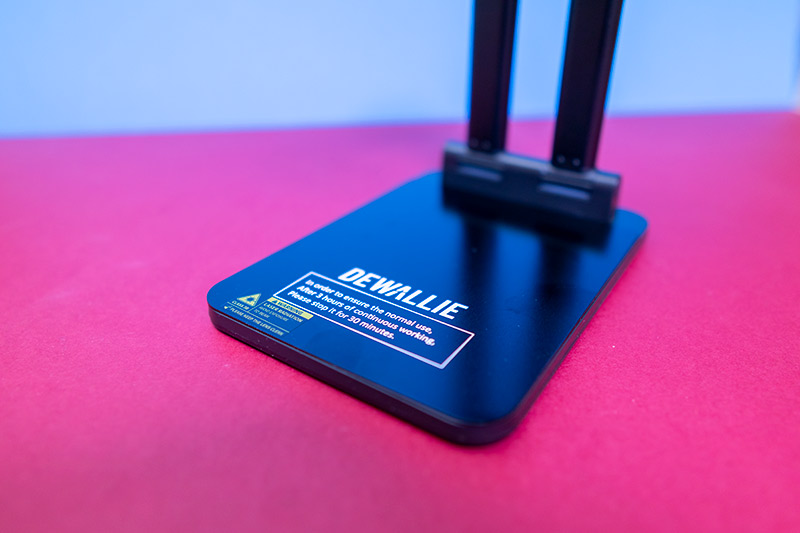
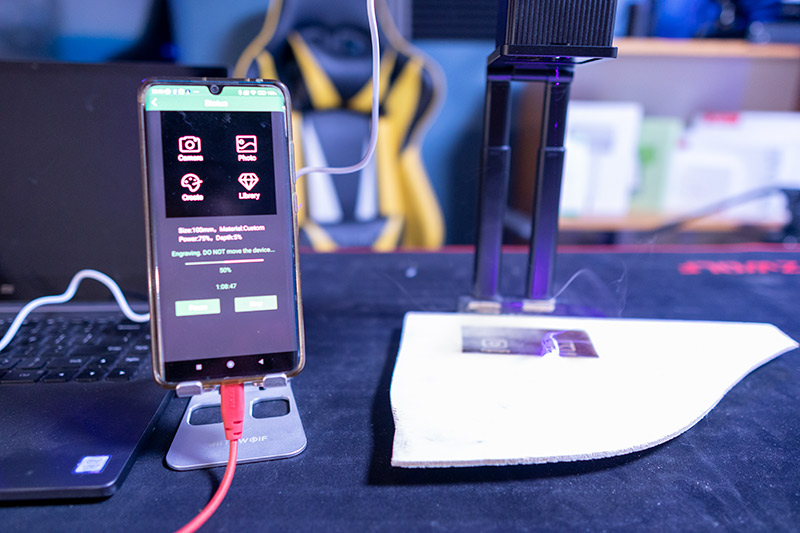
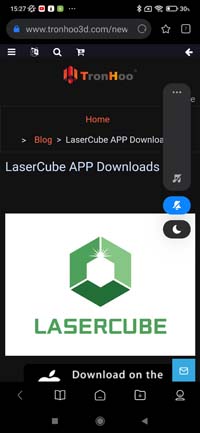
We will install the appropriate application from the store that comes with our operating system (we will get a QR code for this in the description), and when we are done with that, we will connect the phone and the engraver via Bluetooth.
Now you can really start working, let's get acquainted with the application!
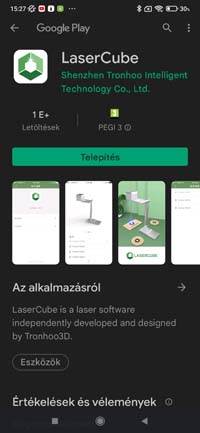 |  |  |
The software that comes with the machine is simple, at least in terms of use and setup.
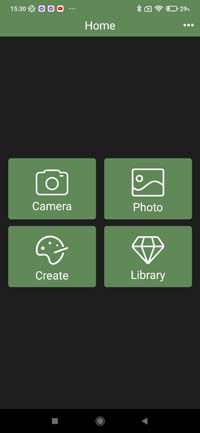
On the first page, you can choose from four options: camera, photo, artwork, and library. Yes, think right, here you will be able to choose what pattern we want to engrave.
 |  |  |
By selecting the camera, you can shoot an image, by selecting the photo, you can choose from the photos on your phone. You can create simpler graphics and texts for the creation, and by selecting the library, you can choose from the themes in the program.
We don’t have much to do with motives and creation. That is, of course, if we are to create, then the work must be made. Most of the settings will be for photos and images.
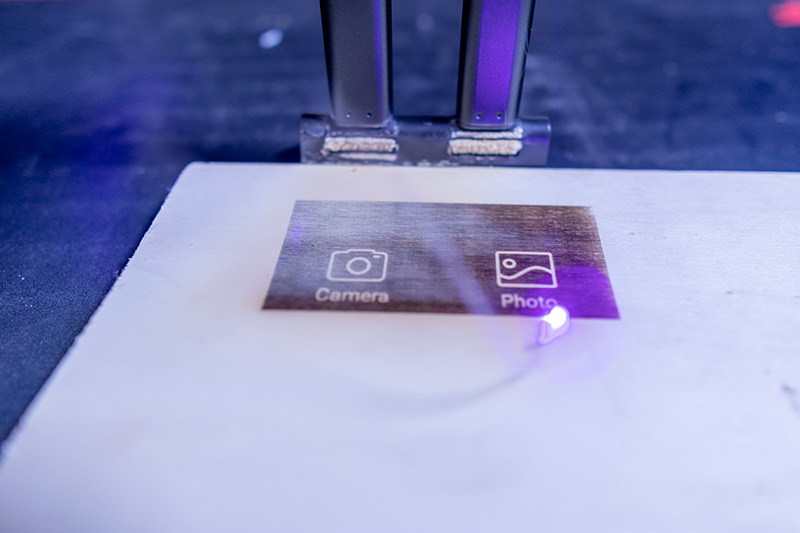
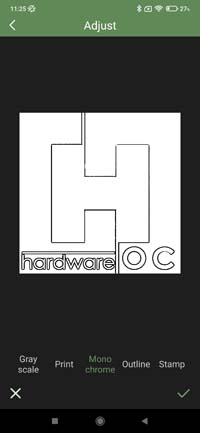
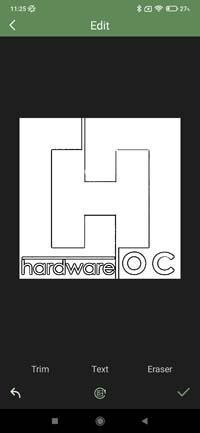
For these, you need to choose whether you want a grayscale image, possibly a stamp effect or outline. You can resize the image, crop part of it, so you can make basic settings. You can then set the image or pattern to be engraved to be round or square. The former comes in handy when making a coaster.
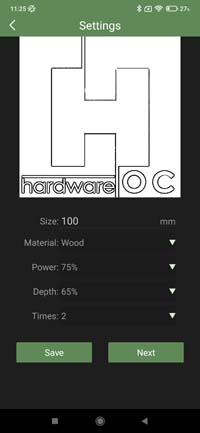
When we're done with that, the last setting can come. There are saved profiles for all kinds of material on this page, but you can change these settings if you want. Sometimes you will have to.
You can adjust the intensity of the laser, the depth of engraving, and the number of times the laser passes through a point.
When we’re done with that, all we have to do is send the image, the text to the engraver and get started.
abilities
So before we start engraving, it’s a good idea to know exactly what the machine knows and what it can be used for.
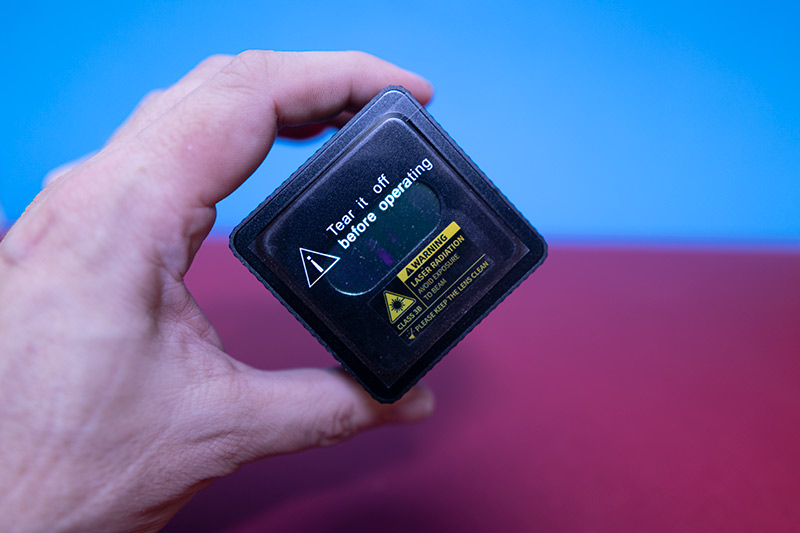
The maximum size of the surface to be engraved can be set to 10 x 10 centimeters or less. The laser type is a 405 nanometer blue laser with a power of 500 mW. I have already written above that the power comes through a USB Type-C connector, which means that 5 volts is required and two amps of current is required next to it. So any USB power supply that can serve these 2 amps can be adequate!
Engravable materials: wood, paper, bamboo, plastic, leather, fabric, etc. Non-engravable materials: Glass, metal, reflective or transparent materials.
Experiences
Where are we now? We got acquainted with the structure, we assembled it. We installed the engraving program on our phone, got to know it and connected the phone to the engraver via Bluetooth. It has been terribly easy so far! Let's start engraving!
Since it is a small, portable structure, one thing we cannot expect from it is tremendous performance. This, in this case, is a shortcoming of the larger machines that we will not be able to cut with and engrave on harder materials, glass, metal.
Let’s say the cut can even go if we don’t move the workpiece after drawing the pattern, but do it again and again the engraving will cut through the material.
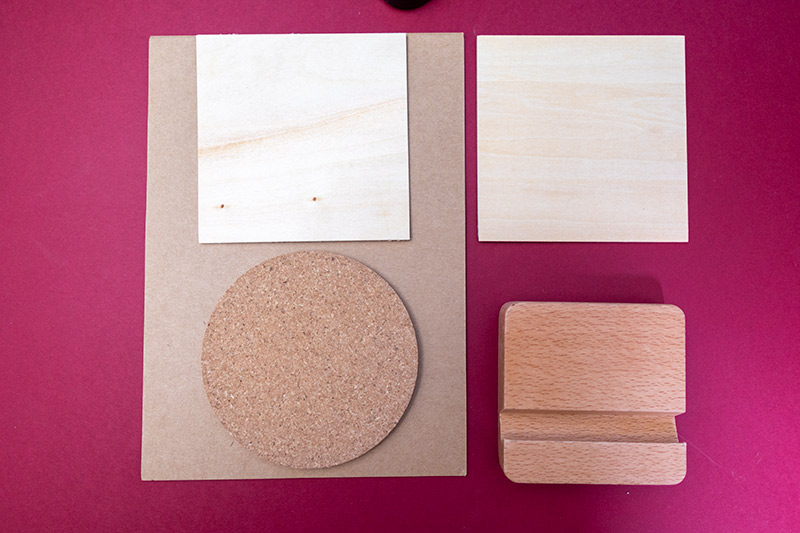
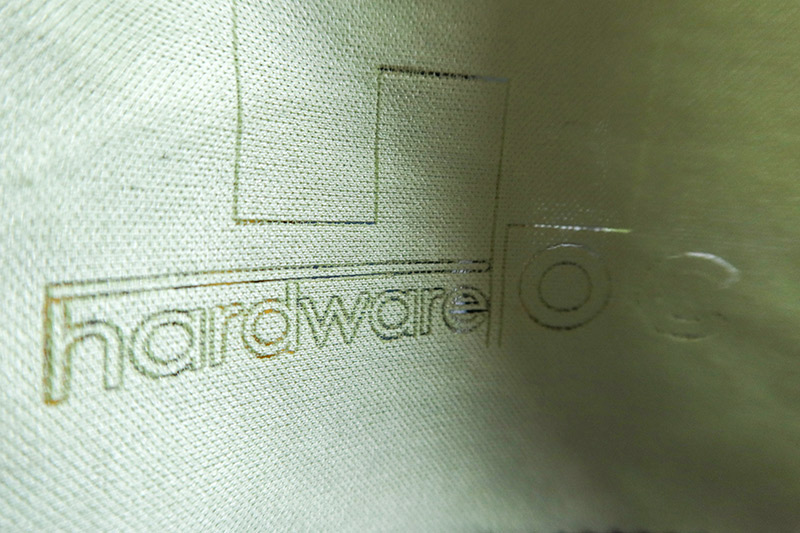
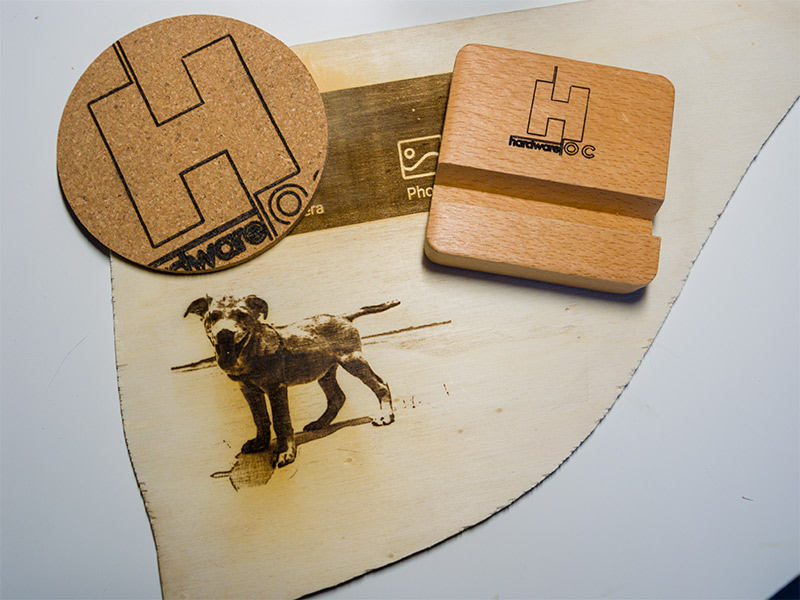
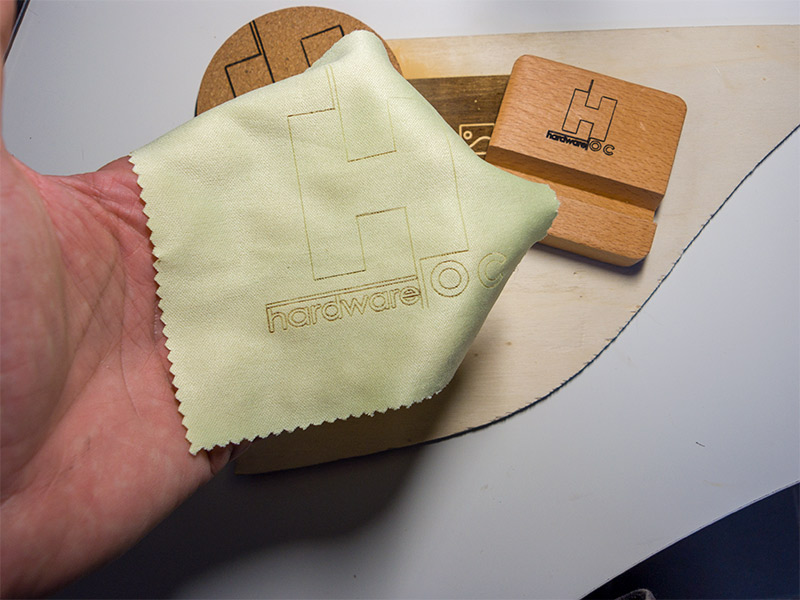
Fortunately, there are also a lot of materials we know about, of course I tried them out because they added test surfaces to the machine. We get a cork coaster, a hardwood phone holder, two sheets of cardboard, two plywood and a fabric pattern.
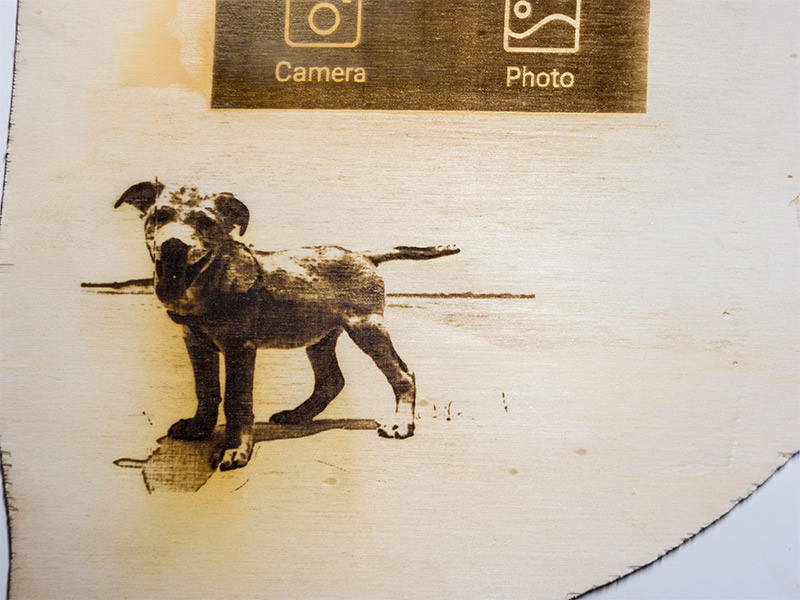
As I wrote above, there are preset profiles for different materials. These have proven to be basically usable, but some experimentation is needed to get the best possible results. The most problematic is engraving grayscale images.
Depending on the material to be engraved, the images need to play a bit with the laser power and the number of turns. If the laser is too strong, there will be no shades of gray, if it is too weak, it will not burn the material at the brighter parts. So I need a little experimentation, it’s worth writing down the good settings (at least I had to because I can’t remember anything).
I note here that laser engravers don’t like to use them at 100 percent power. The head breaks down orders of magnitude faster than when used at 75 to 80 percent.
In my experience, images with too dark a background or not enough contrast to contour the image were useless. The machine is capable of some shading, but since it's an engraver, you can't expect 256 or more shades of gray.
It's a good idea to convert your images to black and white first, and if you can create stronger outlines and make them more contrasty, it's worth it. You can also find image manipulation programs on your phone.
Of course, what has been described so far is also true for pictures taken with the camera. Although there is a way to take photos in the app, these images will very rarely be suitable for engraving.
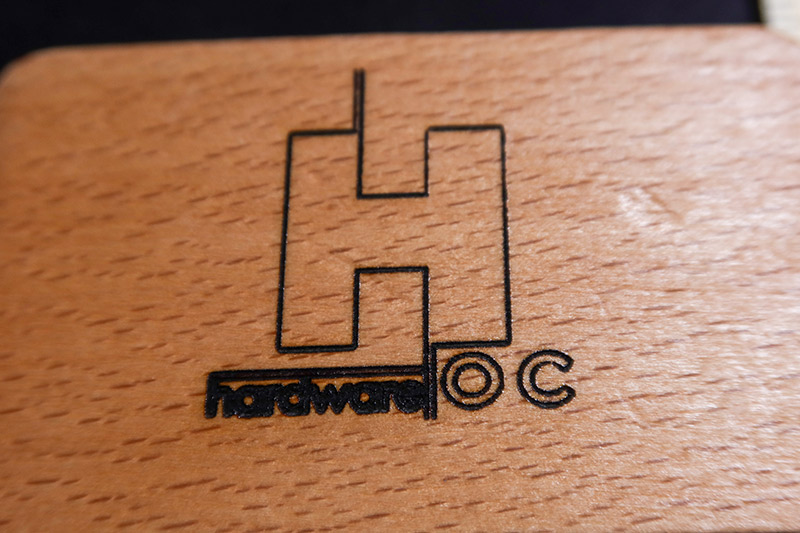
Different texts, figures, that is, works that contain only black or white (I mean no color) do not cause much of a headache. For these, the factory setting is usually perfect. All you have to do is make sure that the laser does not burn the material too much at the edges of the image.
During the many tests, I noticed a single mistake, that I couldn’t engrave a perfect square. Seen from the front, the right edge was always a bit distorted. I don't think this is a dangerous problem, because there will be no frames or black backgrounds for emblems and texts, and the amount of distortion is not too great either.
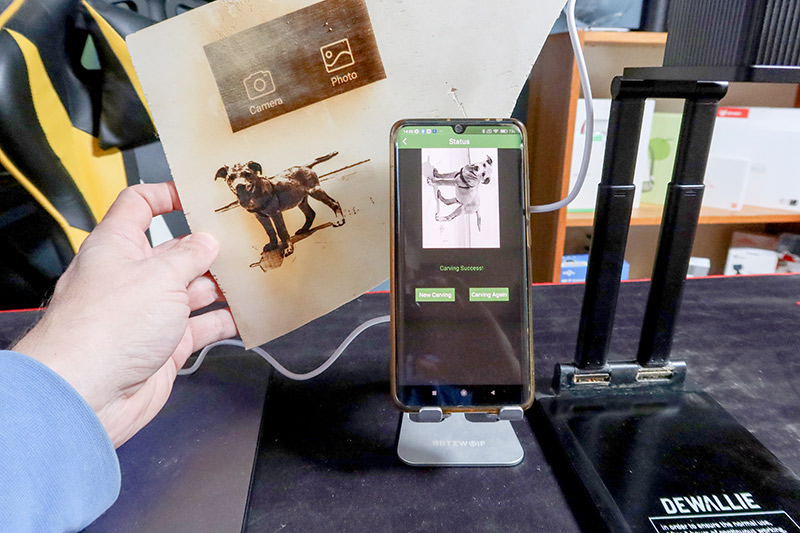
Another interesting thing at the end of the chapter. Out of curiosity, I tried to see if the device could be powered from an external battery, and yes! Since it is powered by USB, I connected a 20 mAh Xiaomi transmitter battery to it, and the machine nicely “engraved” the samples. This means you can work with it where there is no outlet.
I think there is nothing else, let's sum it up!
Summary
The DeWallie LA100 is a simple portable engraver that can produce small specimens up to 10 x 10 centimeters in good quality based on my tests. The biggest advantage is in portability, which is not only in the fact that we can fold it up and put it in our pocket, but also in the fact that we can engrave on essentially any thing 20 inches apart.
Now I think you frown at what I mean by that. Well, it's just that the machine can engrave on places like the wall of our room or a vertical wooden surface. The head can not only face down, it can be turned up to 90 degrees, so that not only the parts on the table, but also on the vertical surface, for example, can be engraved.
Who do I recommend the machine to?
For those who want to engrave in non-industrial quantities, for those who care that the machine can be put into operation quickly, and when we have finished the work, we can do it in a matter of seconds, folded very slightly.
For those who do not want to learn engraving on a professional level, but want to simply burn inscriptions and illustrations into wood, bamboo, cardboard and similar materials.
For those who want to start learning about engraving but don’t want to put more money into it first. Maybe for those who are from a younger, say adolescent age group, and parents would rather have their leisure time with the work instead of staring at the TV.
Of course, I did a little market research before I took the test, and the result was very surprising. There isn’t too much competition in the market, at least from a machine that’s so compact, hard to handle. What they have is also available at astronomical prices.
An example is the Laserpecker Pro Deluxe, which has very similar capabilities and costs over $ 429, or $ 145. Let's face it, it's not a little money. In contrast, the price of the DeWallie LA100 is just under 75 forints, which is pretty much the pain threshold for me.
Of course, there may be cases where the portability or the fact that I can even engrave on the wall is worth 145. 75 thousand is a price for which we do not get such a practical device from such a manufacturer.
Overall, what the DeWallie LA100 promises will keep. As you can see, the price is good, so for my part, it could be in the category recommended for purchase.
If you like it, use the HOC.hu coupon code here:
DeWallie LA100 portable laser engraver
Make sure the EU is selected for Ships From so you arrive quickly and have nothing else to pay.


